Ingredients
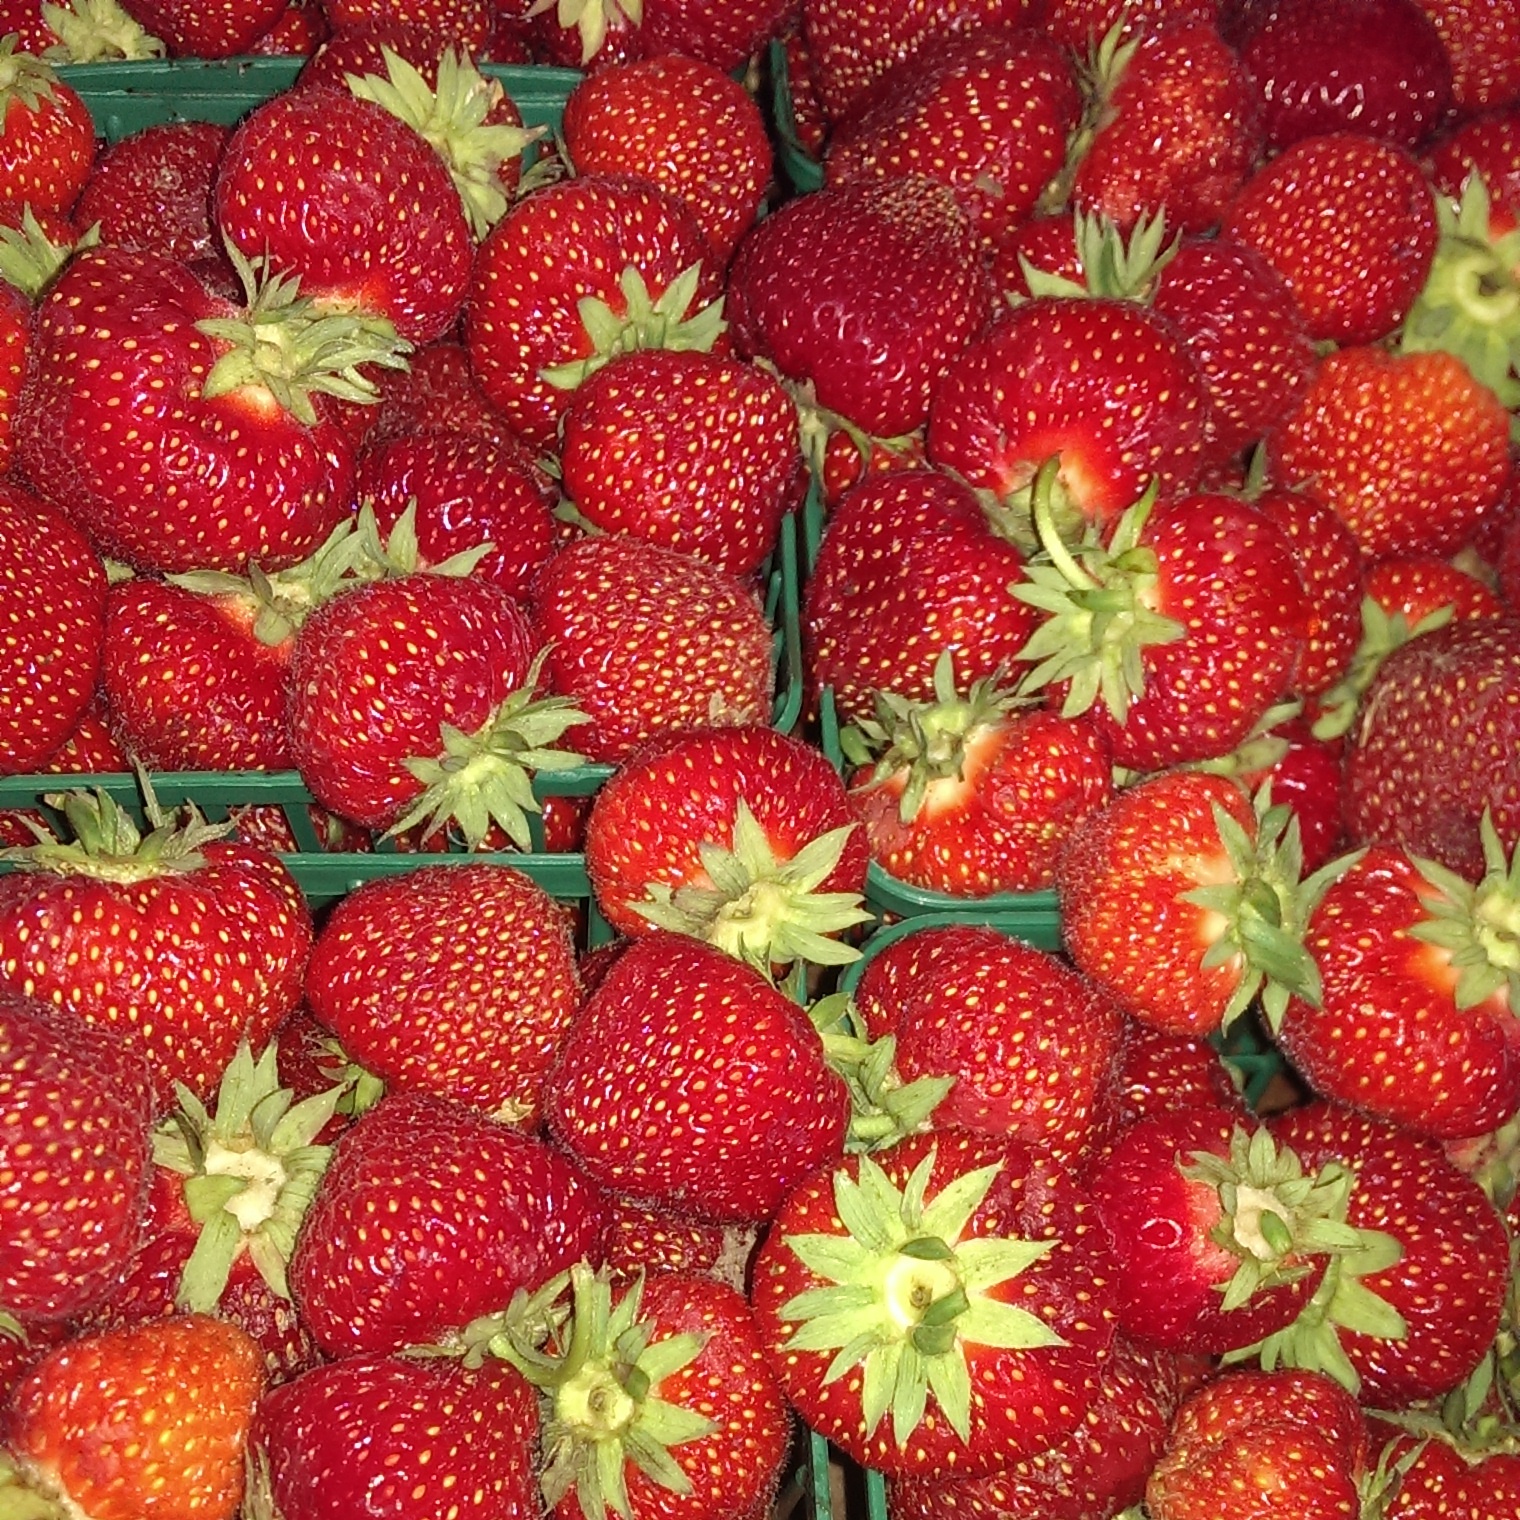
- 13 Cups Strawnberries As ripe as possible
- 6 Cups White Sugar
- fresh lemon juice
Instructions
- First make sure you clean your jars, lids, screwtops, and jarring equipment (pot for boiling jars or baking tray for baking jars, tongs, etc.). Then make sure to sterilize your jars either using the oven method or the old-fashioned boiling method. Some people like the dishwasher method but make sure your dishwasher is perfectly clean before you wash and sterilize them in there.
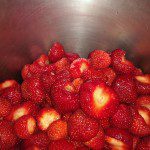
 Wash and hull berries. You’re making jam though, not dipping them in chocolate, so you can just cut the hulls off with a knife to remove all green bits.
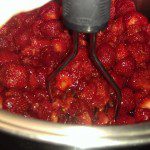 Place berries in a large pot and mash them with a potato masher or pastry blender. Turn the stove onto medium-low while you do this since it will take a long time for the berries to heat up. If you like berry bits in your jam, you can leave them crudely smushed. If you prefer more of a jelly without seeing whole berries, mash them as fine as you can.
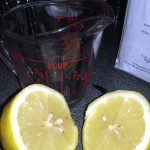 Once the mixture starts to bubble, add your sugar, and then add the lemon juice. Stir to dissolve and bring to a bubble.
- Place a desset plate or teacup plate in your freezer.
 Continue to cook the berries between a simmer and a half boil, stirring continually (so not constantly and not occasionally – somewhere in between).
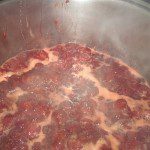 When the water from the berries looks like it’s reduced somewhat, approximately half an hour later, take your plate out of the freezer and drop some of your jam onto it. Swirl it around the plate. If it is still runny after 30 seconds, continue to cook the jam, wash the plate, dry it, and put it back in the freezer. Keep checking your jam every 5 minutes – you don’t want it to taste overcooked but you don’t want it to be sauce, either.
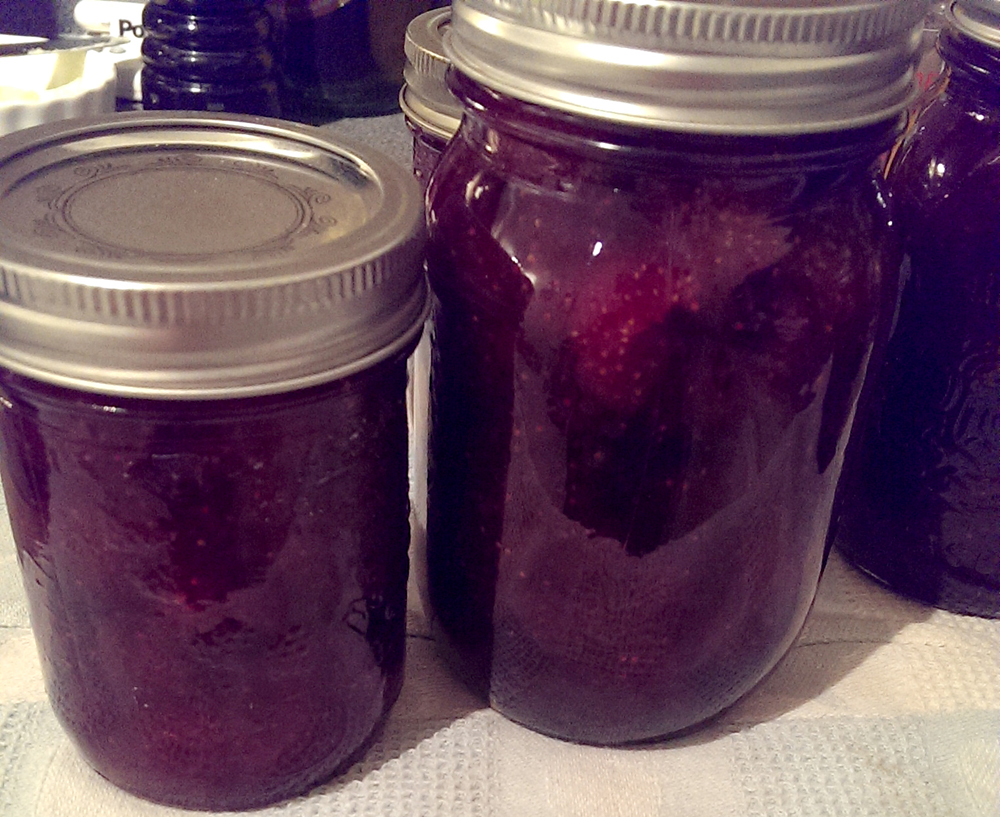
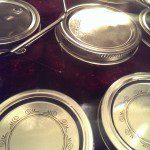 Once the jam looks like it’s firmed up on the cold plate, turn off the heat. Fill each jar up to ¼” (but no less) before the rim, use tongs to add lids and screwtops, and reboil closed jars for about 10 min. take them out and you should hear the lids pop, which means they are sealed. If you don’t hear popping, then you need to keep the jars in the fridge.
Notes
Tried this recipe?Let us know how it was!