Ingredients
- 2 Tsp Paprika
- 1 Tsp Pepper Freshly Ground
- 1 Tsp Cumin Ground
- 1 Tsp Garlic Powder
- 1 Tsp Onion Powder
- 1 Tbsp Chili Powder
- 1/4 Tsp Nutmeg Ground
- 1/4 Tsp Cayenne Pepper
- 1/4 Tsp Sea Salt
Instructions
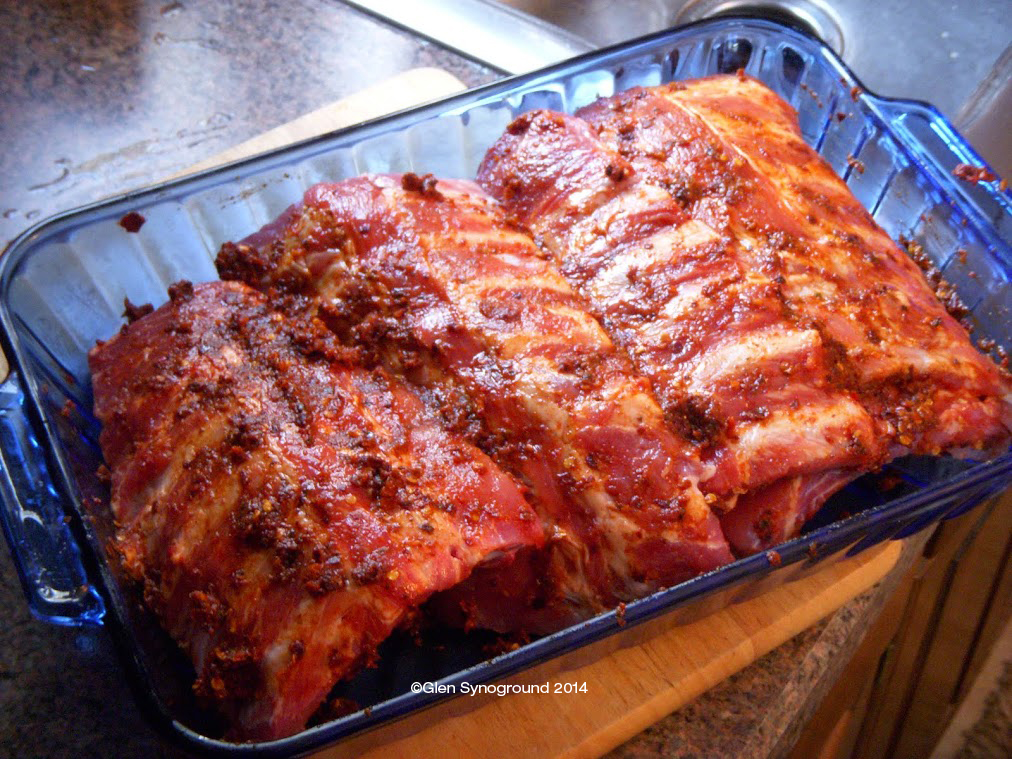
- The first step is to remove the membrane at the back of the ribs. Get under it with a fork, and pull; use a paper towel if need be. (After 6 hours of cooking it does nothing except get tough and prevents the flavor from getting into the meat.) Rinse the ribs with cold water and pat dry. Coat the ribs generously with the rub, and wrap, place in the fridge overnight. (Some people use yellow mustard or peanut oil to help the rub stick better. I usually don't.)
- The next day, take the ribs out of the fridge and let them come up to room temperature while you are prepping the BBQ. Any BBQ will do for indirect heat, as long as you have enough space to lay out a coil of coals in an S or U shape. the best way to shape them is by rows of 2, and a single coal on top, a bit off to the side so the wood chips have somewhere to sit but the heat isn't completely blocked. Put a tin can of water filled with water in the curve, this will boil during the process and will add more moisture into the air.
- Soak about 2 cups of apple, hickory, or mesquite wood chips in water for a half hour before you begin laying out the coals. Apple is my personal fave as it emits a nice mellow smoke, which is perfect for a long cook like this.
- You can use a chimney, a paper stuffed tin can or lighter fluid to start about six coals. (If you use lighter fluid, the coals are white ash when you move them over to the end of the coil.)
- The coals will ignite a few at a time, and will give you a steady, even temperature between 200/240. Depending on the outside temperature and wind, this should give you between 4 and 6 hours of heat.
- Front end load the chips along the coil and wait for things to start smoking. Put the ribs on the grill. The BBQ should have a vent to allow smoke to escape from the top. Leave this open a bit to allow for airflow and make sure the ribs, not the coals are under this. (guess who made this mistake day one?)
- Now, close the lid and GO AWAY!!!
- Mix up 1 tablespoon of apple cider vinegar and 1 cup of apple juice. Every 90 min, quickly rotate the ribs 180 degrees, to ensure even heat distribution. A quick brush or spray (if you have a bottle) of the apple juice mixture on the ribs will help add additional liquid to the meat.
- At about the 4.5 hour mark, you should notice the meat is pulling back from the bones nicely. This is a good sign you're well on your way. You have two options: continue on the grill or utilize the 'Texas cheat' which is wrapping the ribs in tin foil for approximately 2 hours and place them back on the grill and keep the lid closed. It will speed the cook, but you do run the risk of losing some of the smoke flavor and in my experience the ribs are more mushy than tender.) Still, it's an option for first timers, but not a prerequesite.
- At approximately the 6 hour mark, your ribs are pretty much done. At this point I do take them off the grill (the rack should have a nice bend to them but shouldn't break), and loosely wrap them in tin foil for 20 min to allow the juices on the outside of the meat to return to the center.
- The ribs should not fall apart when you cut into them. You will notice a pink ring around the outside edge of the meat. That's the smoke ring. When we talk about layers of flavor, that's the ring everyone looks for.
- Some people like to slather their ribs in barbecue sauce at this point. With this technique, you will have all the flavour you need. Sometimes less is more.
- This past winter I cooked a few racks inside, no smoke, same recipe and everyone agreed. “They’re not bad, but boy, were we spoiled with the BBQ.”
- With this recipe and a little practice, you'll be spoiling everyone
Tried this recipe?Let us know how it was!