Servings: 0
Ingredients
- 10 lbs Black Olives
- 9 lbs Kosher Salt
Instructions
- Wash the olives by soaking them for 15 minutes in water that has had vinegar added to it
- Pick through the olives, removing any that show signs of decay
- Pour a layer of salt into a jar or plastic container
- Cover this layer with a layer of olives
- Cover that layer with salt and repeat until all ingredients are used
- Put the lid on, leave it at the back of a dark shelf, and leave them for a month.
- They will look a bit soupy at this point
- Use a slotted spoon to transfer the olives to a new container with fresh kosher salt, reserving the original salt for later use
- At this point, if you want the olives to be pitted, they will be soft, making it easy to press the seeds out. I prefer to do this for myself as the olives are needed,
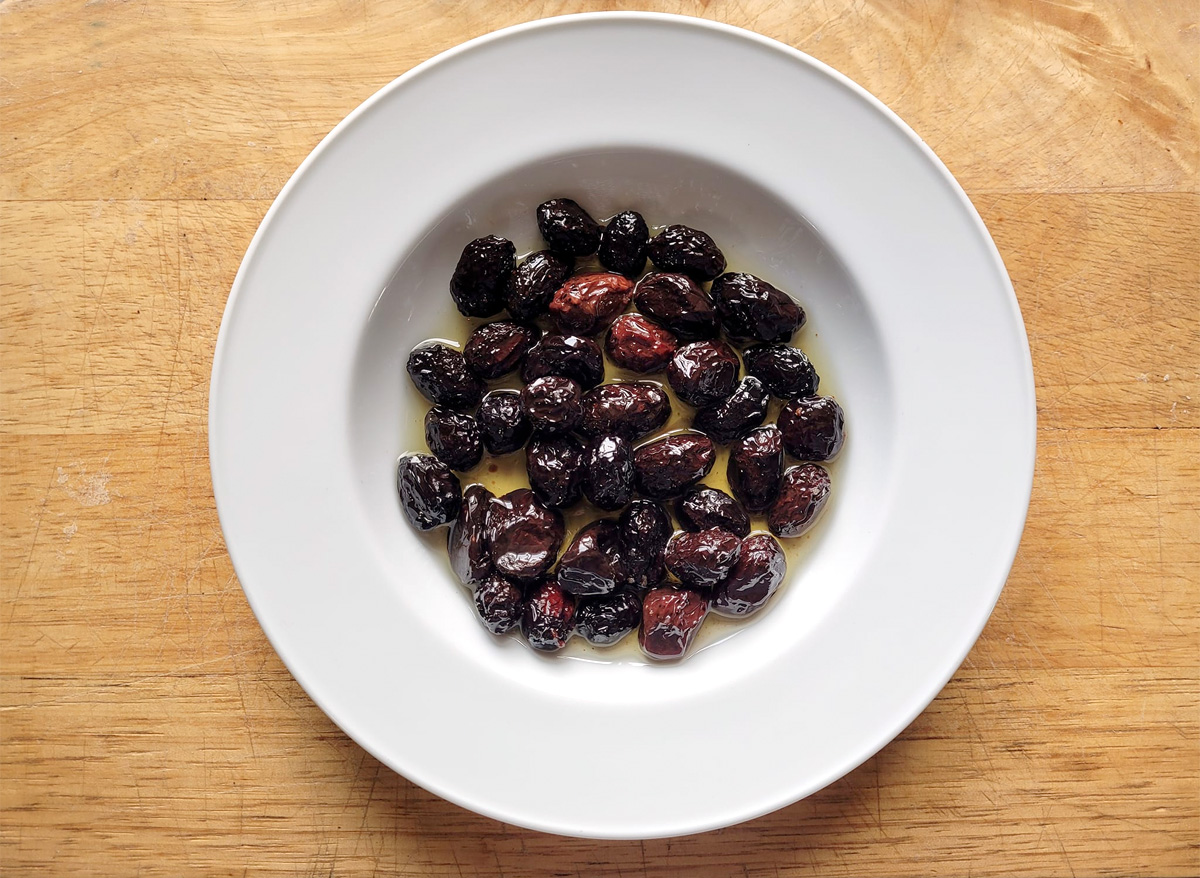
- When they are sufficiently dry, remove them from the salt and store them in vaccum-sealed bags or in jars with olive oil and kept in the refrigerator
Video
Notes
When fully cured, the olives will lose about 50% of their weight, as the moisture is drawn out into the salt.
We use the delicious salt that is produced from this in cooking, to cure meat, and to season baguettes.
Over time, the juices from the olives will settle to the bottom of the jar. We then top the jar up with more salt as needed, mixing it in to distribute the juices.
It has been three years since we made the last batch of olives, but we are still using the olive scented salt, to which we have added at least 5lbs of fresh kosher salt. It's also much prized as a gift by our foodie friends.
Tried this recipe?Let us know how it was!


