Trapping a wild yeast culture is the first step in making true sourdough bread and easy as could be. Please note that these instructions call for milk to be used, but I have also successfully grown yeast in flour and water. The important thing is to cover it with a cloth to keep it clean while also allowing air flow.
You’ll need:
- One cup of milk
- One cup of flour
- Cheesecloth
- Elastic band
- Container with a loose-fitting lid. This could easily be a canning jar, so long as you are careful never to tighten the lid too much. The yeast needs air to breathe.
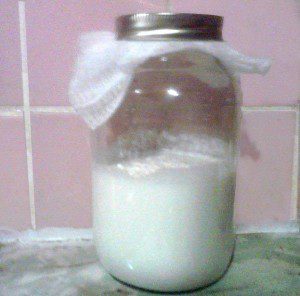


- Begin by putting the cup of milk into the container with the cheesecloth secured to the top with a band. Keep on the counter in a spot where it can be undisturbed.
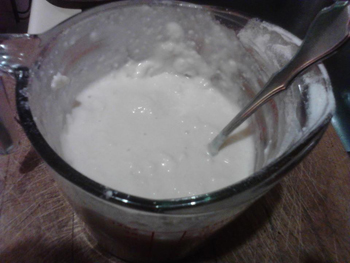
- Sourdough starter with the flour incorporated. It looks a lot like paste… if this doesn’t work, maybe I’ll make a pinata. ?
- After two days, the milk will have soured perceptibly. At this point, you should add the cup of flour, by putting it into a bowl and then adding the milk to it, slowly in order to create a relatively smooth paste.
- Yeast Day 3, six hours after the flour was added. Read more Reviews. Within the next couple of days (in my case, the signs showed within hours), your yeast culture should begin to grow. The medium that you have placed to catch the yeast, will begin to have that “yeasty” smell, and the surface will begin to bubble and froth.
- Over the next couple of days, “feed” the culture each day with a half cup of flour mixed with a half cup of reconstituted skim milk.
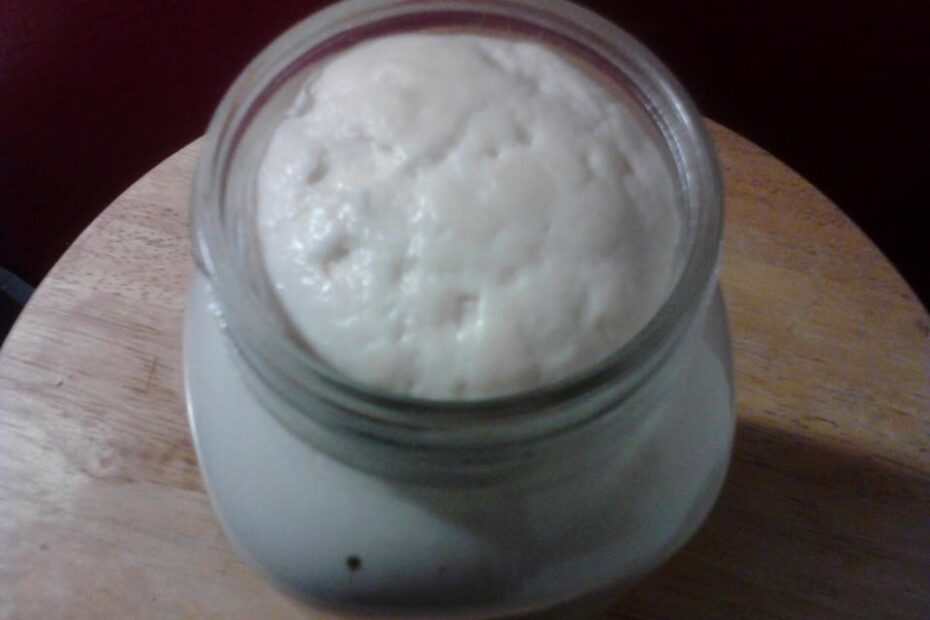
- By day 5, your yeast should be fully formed.
- At this point, stir it down, put the permanent loose cover on the jar, and store in your sourdough culture in the fridge.
- If after 5 days the yeast has not begun to form, or if your mixture starts to mould, toss it out and begin again.
- This culture will be able to raise your dough within the first week if properly cultivated, but will not actually be truly sour until a few weeks have passed. The longer it lives and is fed, the more sour it will become.
ONGOING CARE

Yeast is a living being and needs to be fed regularly. If you regularly make something that requires a sourdough culture then you have the perfect opportunity. If you don’t use it weekly, you can either use this as an opportunity to grow a larger culture, or you can toss out or gift part of it to a friend.
- Remove one cup of the starter for your recipe.
- Replace it with one cup of milk and one cup of flour.
- Since it’s all about souring, you can feed it with any milk or cream that you happen to have go sour in the fridge.
- Cover with cheesecloth and keep it on the counter for a few hours, When it looks spongey again, cover loosely with a proper lid and refrigerate.
- To increase the starter either because you want to give some away, or prepare for a larger recipe, simply follow the 2nd and 3rd steps of ongoing care without first removing any of the starter.
- Do not make more than double each time you add to the starter.