Why settle for less?
Olives are so simple to prepare and home-cured olives are so superior to commercial ones that it’s surprising that more people don’t line up to do it. The only real drawback is that they’re a delicate crop with an unpredictable ripening schedule. One has to be standing ready to work on them when they are delivered ripe to the local importer. Once you get that bit of timing locked, you’re on a fast road to the best tasting olives you’ve ever had.
Types and availability
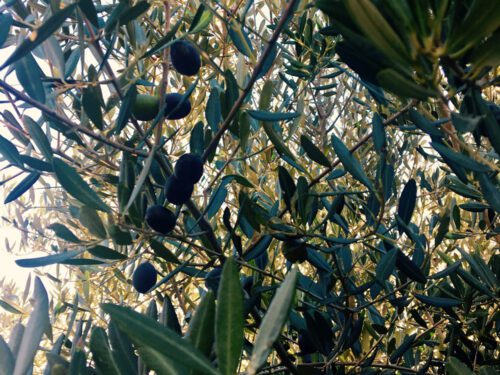
There may be some olive varieties that are better green than black, or vice-versa, but the same olives will ripen from green to black with each stage being appreciated for its specific qualities. In the Vancouver region (including Vancouver Island, where I now live), there is only one local importer of olives and only one variety available. Bosa Foods brings in Seville Olives from California twice each year. Green in September or October, and black olives in late November or early December, depending on when the crop is ripe.
In Toronto, there is a wider selection at many local grocers. The same is likely also true in Montreal, Sault Ste Marie, and Niagara region, where there are significant populations of Italian origin and descent. Very happy to hear from anyone in other regions about where they buy olives in Canada. Please comment below
Preparation

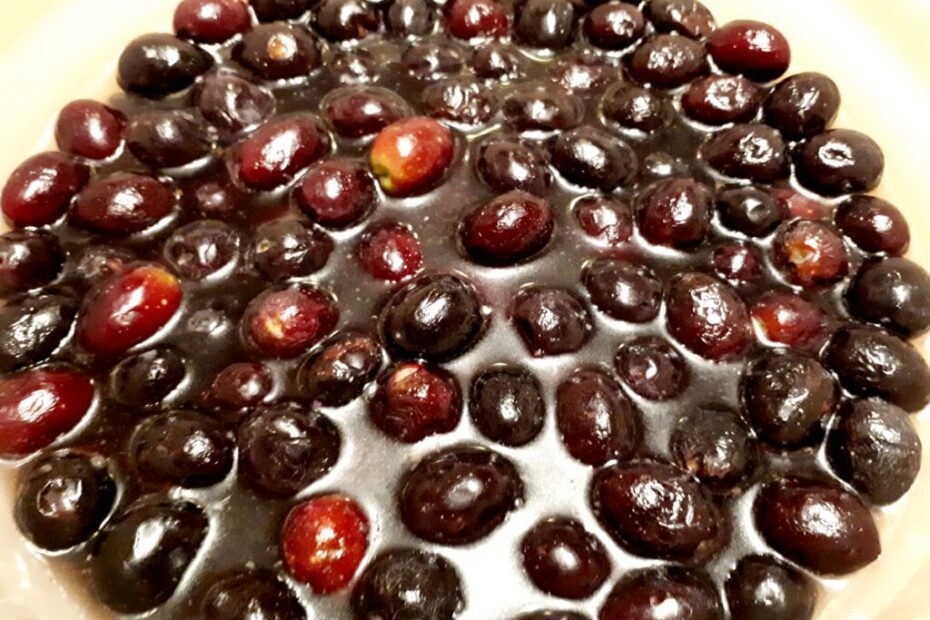
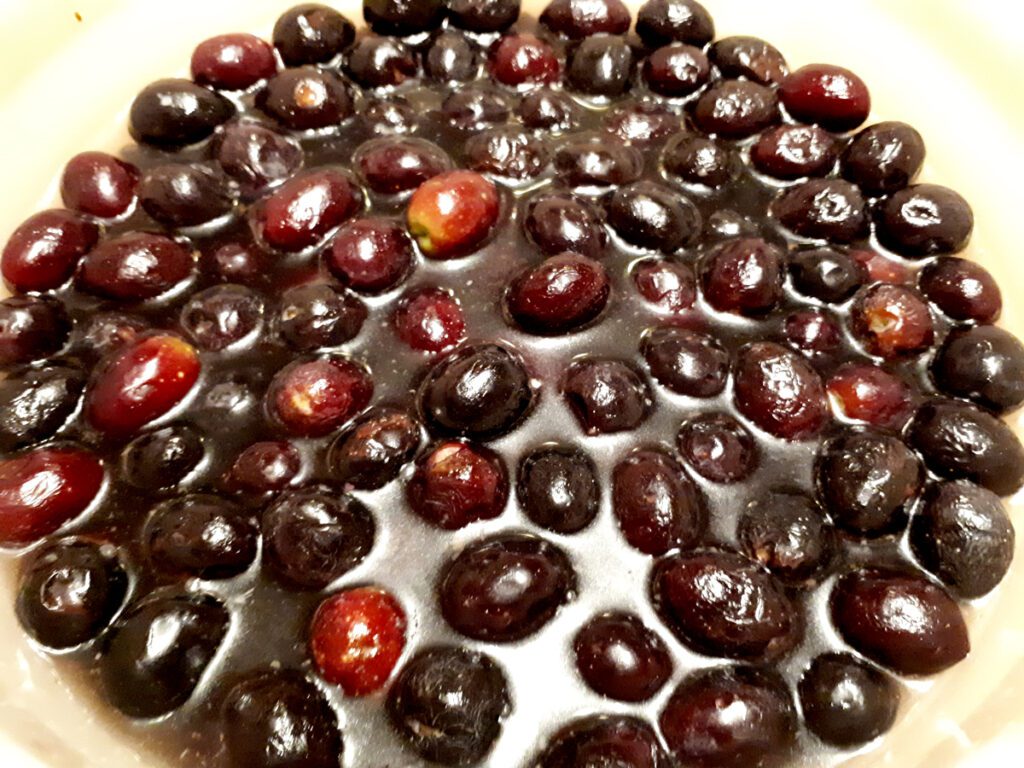
To prepare black olives for brining, it helps to treat the outer skin so that the salt may penetrate. Methods used include: a lye bath, bruising with a hammer, and slicing or piercing with a needle.
I prefer the slicing/piercing method. I don’t care to handle caustic chemicals, so lye is out for me. Hitting with a hammer is dangerous, as the hammer sometimes recoils (at least for me) and in any case, the bruising is unattractive for presentation.
For green olives, I slice, for black olives, I pierce. The black olives being riper, seem to need less intervention to allow the brine to penetrate. It is likely that black olives will be fine if you simply brine them without any preparation other than washing, but it will take them longer to cure.
To prevent the olives from oxidizing along the cut or at the pierced spot, either drop them immediately into water, or cut/pierce them while holding the olives under water (better).
Curing the olives
The olives will need to be cured in a 10:1 brine solution.
Because I like to pierce the olives below the surface, I reserve some water from the initial solution for this purpose. Once the olives are all prepared in the water, and my hands are out of the water, I then add the brine solution to the vessel and weigh the olives down with a plate to keep them immersed.
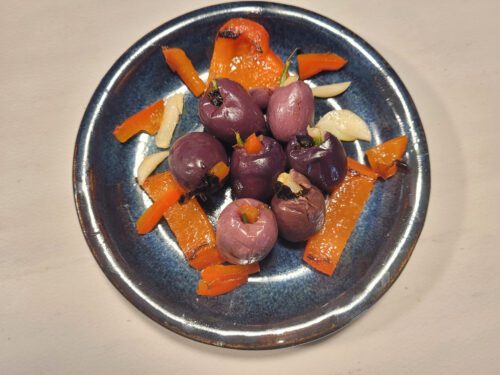
These will be ready to eat within a week.
Keep them in a dark spot, ideally in an opaque container.
Ingredients
- 10 kg raw olives black
Brine
- 1 kilo Salt
- 2 litre Boiling Water
- 6 litre Cold Water
Instructions
Prepare brine
- Put the salt into a stainless steel or ceramic pot large enough to hold all of the water.
- Pour two litres of the water at boiling temperature.
- Put on the stove and heat while stirring until the salt is fully dissolved.
- Add the remaining 6 litres of brine water at a cold temperature to cool the brine.
- Either store the brine until needed, or wait until it has cooled to room temperature before pouring over the olives.
Brining the olives
- Wash the olives in water with a small amount of vinegar added to remove any road dirt.
- Drain the olives
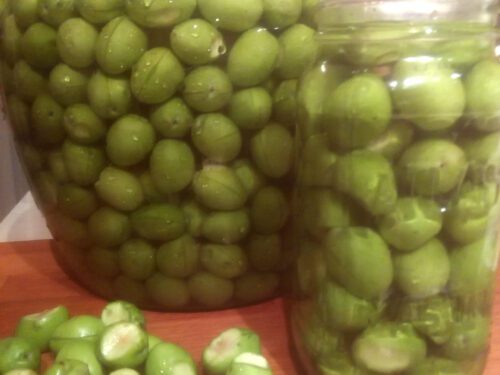
- Fill your soaking vessel with the brine, pouring some of the brine into a separate jar to process the lesser olives.
- Inspect each olive and slice the perfect ones with a sharp paring knife while holding the olives below the water level in the brine.
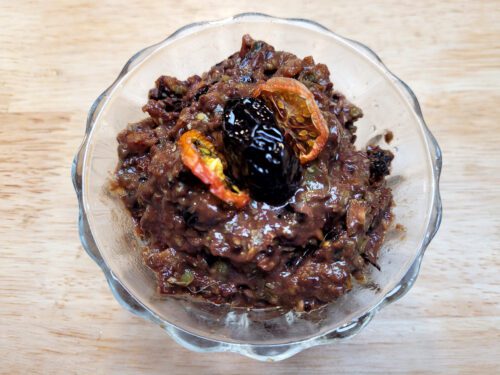
- Trim the imperfect ones and pop them into a separate jar with brine to process these for immediate use. I like to add these to a tomato sauce.This is for fruit that is generally okay, but has blemishes. If they are soft and mushy, they are unworthy of brining. Toss them.
- Pour the brine over the olives. Weigh them down with a plate to ensure that they remain fully immersed in the brine.
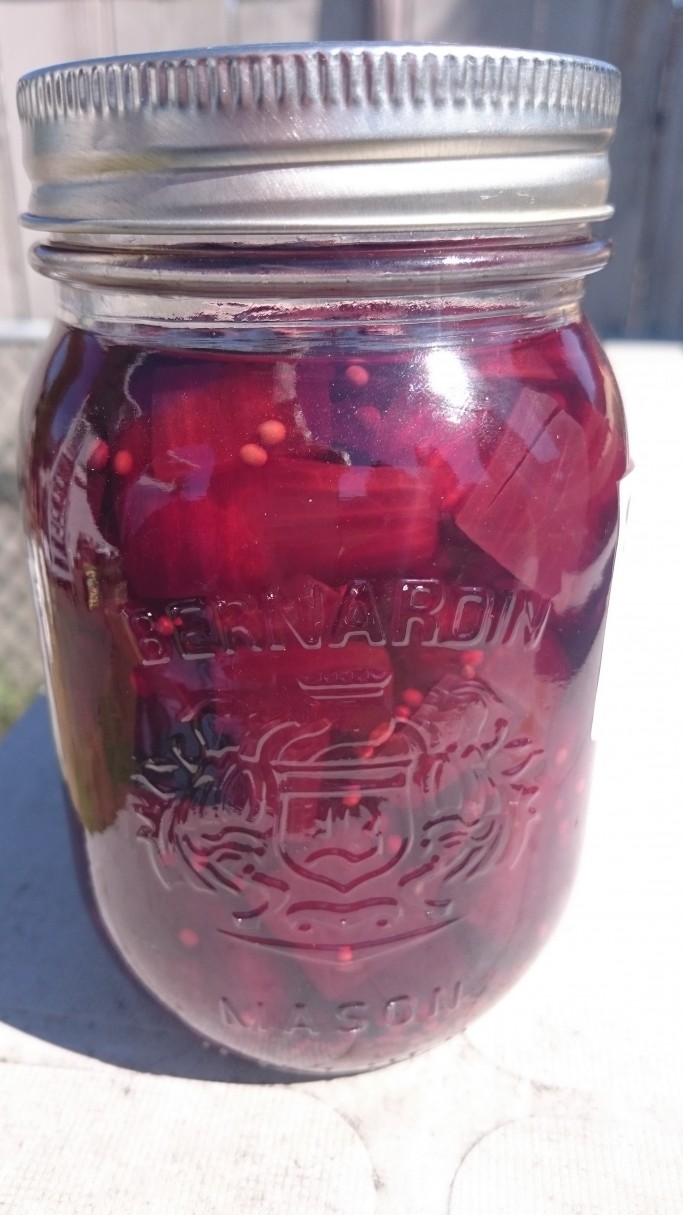
- Cover with a crock lid or plastic wrap, and let sit for at least a month before eating. You can also use a canning jar,
Notes