Deep dish and delicious
Once upon a time, I would want to make pizza and if the weather was nasty out, I’d just forget about it because the bakery was so far away. Somehow, despite that I’d spent most of my life making homemade bread, I’d failed to realize how much simpler and faster pizza dough is to make. Turns out, it’s really, really easy.
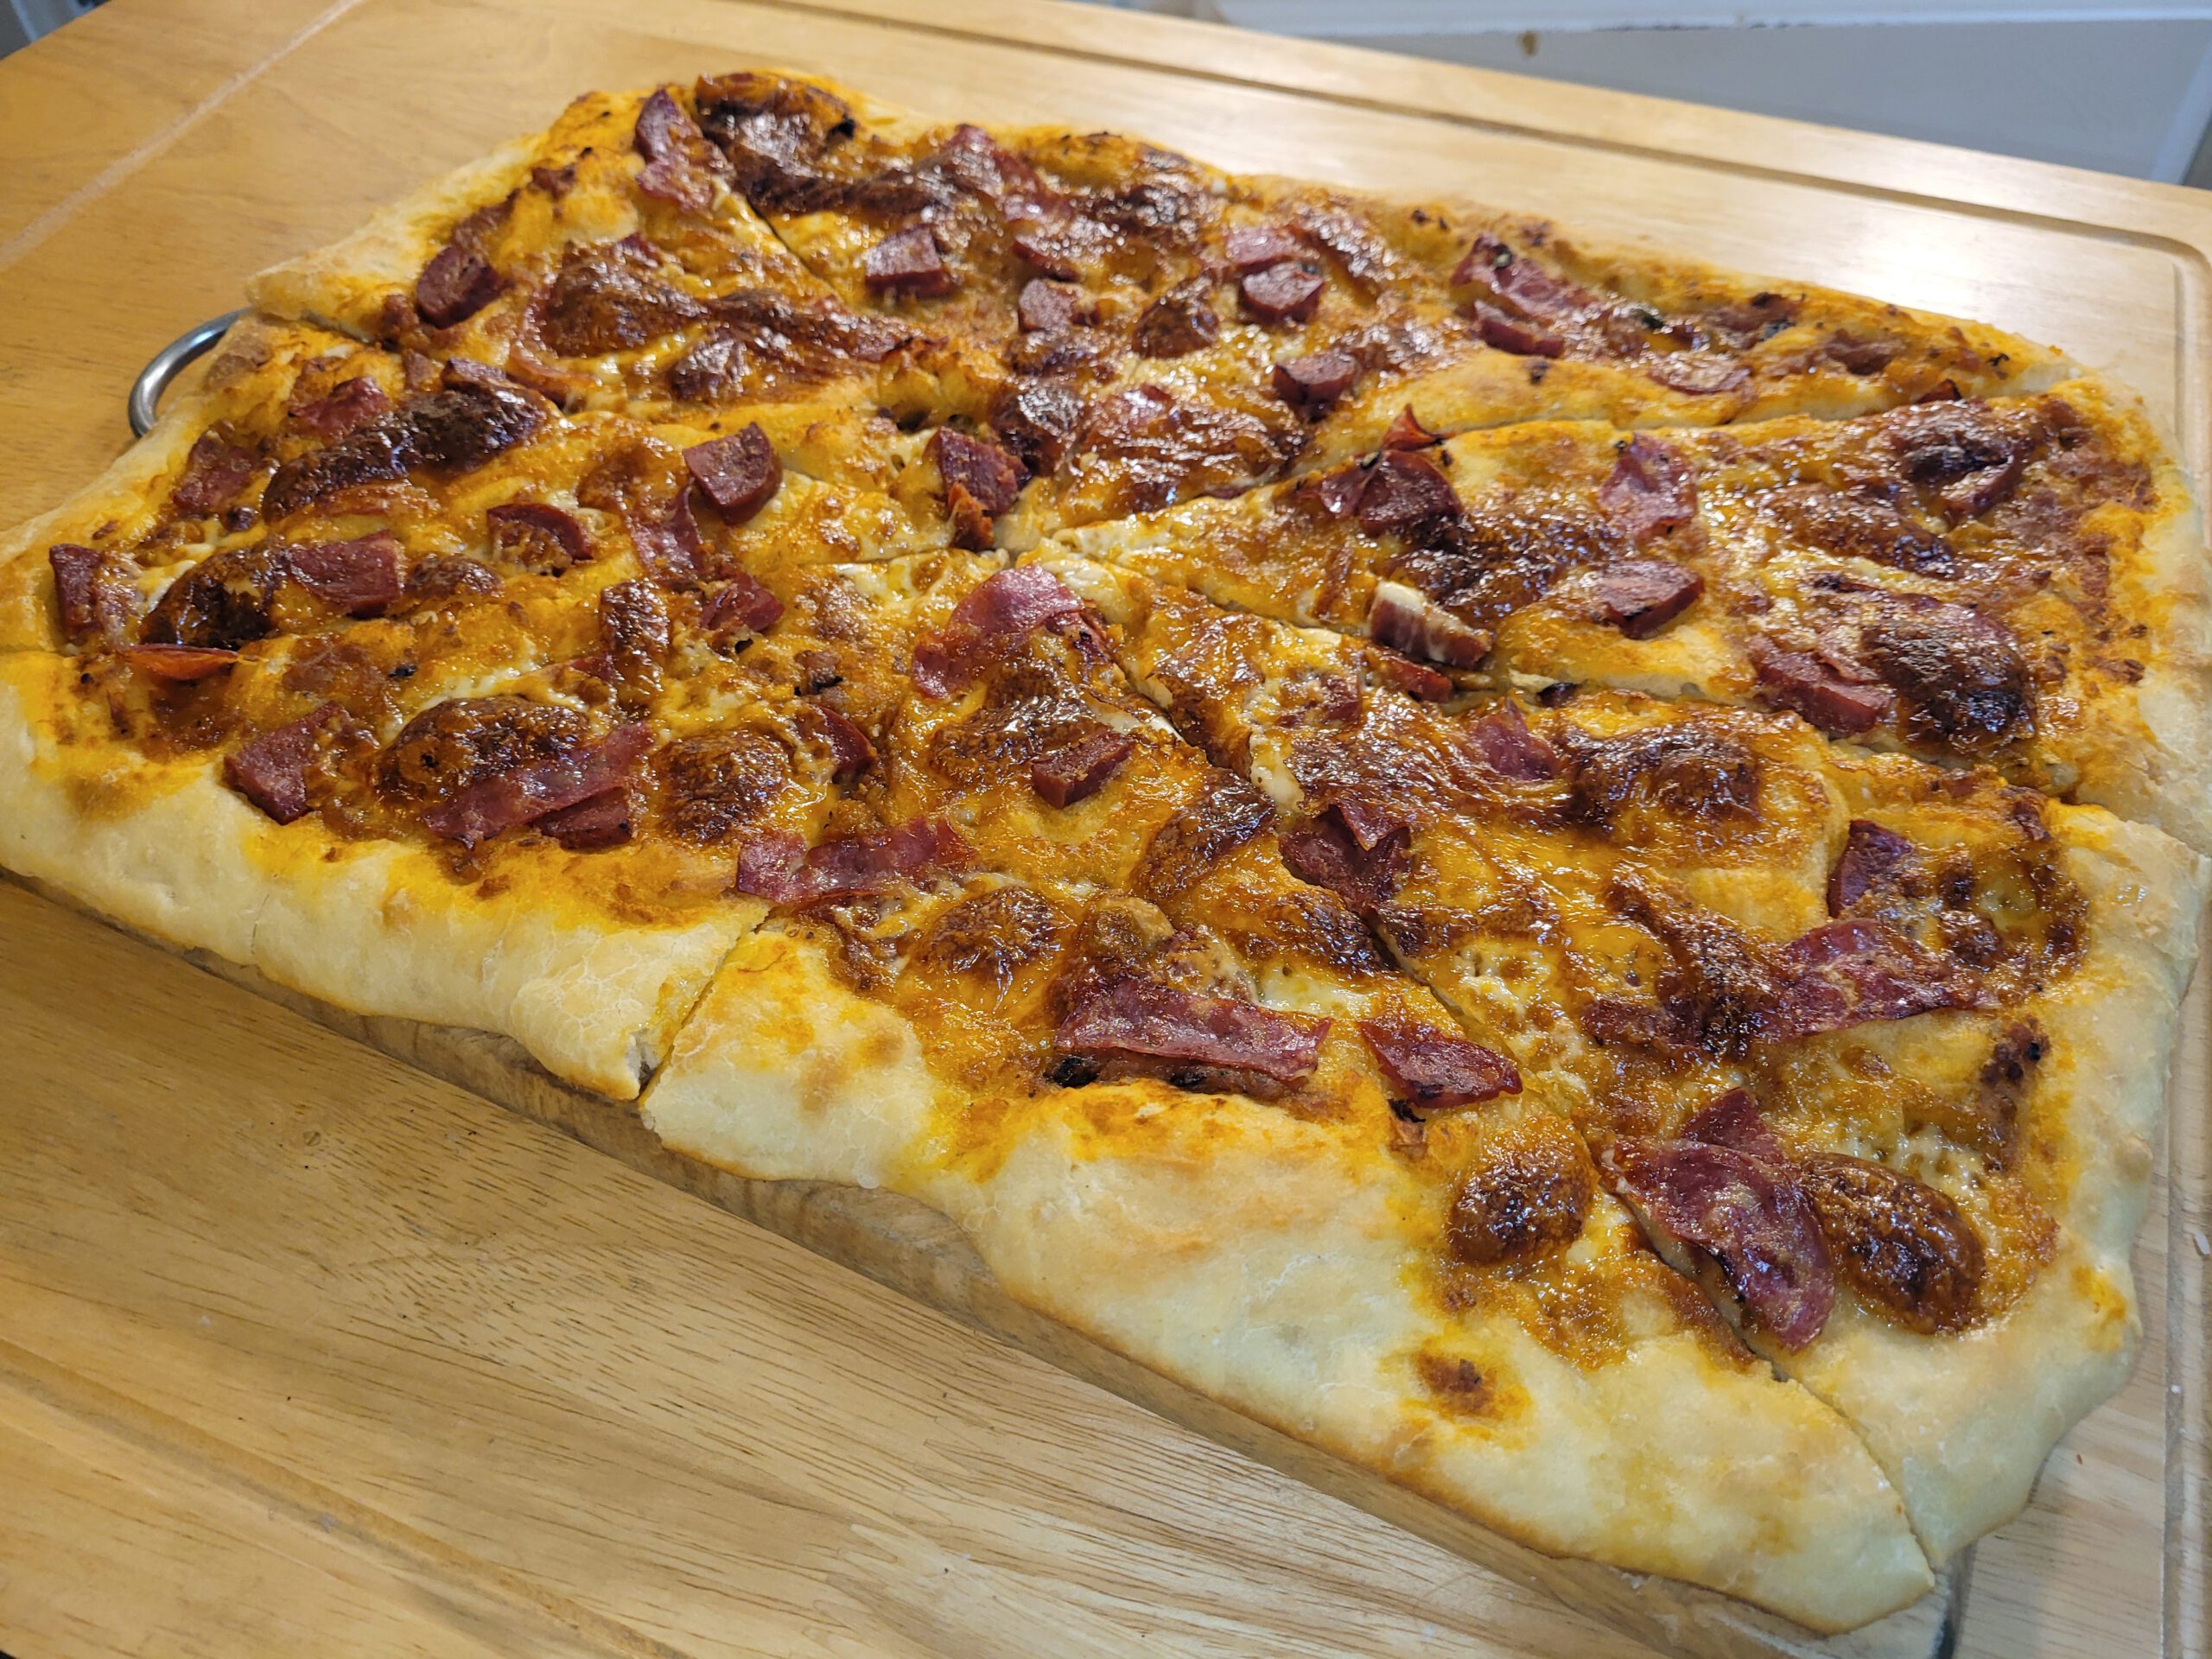
In the world of Neapolitan vs Scicilian pizza, I ask “What about Greek pizza?”. When I was growing up in Vancouver, most pizza available by delivery in the Lower Mainland was a Greek style pan pizza. While we also make Neapolitan pizza regularly on pizza nights, this style of pizza is ideal for breakfast. Yes, you read that right. The best pizza is breakfast pizza. 🙂

I knead my pizza dough for a bit because kneading dough is one of my favourite parts of making bread, but you don’t really have to do much more than mix it with vigor as you add the flour.
You can make the pizza almost immediately after mixing the dough. If you take the time to let the dough proof however, you get a different, puffier result. I like to make the dough before preparing the ingredients, and find that the dough is often well-raised by the time the pizza toppings are ready.
You can mix this up and use it immediately, but I prefer to let it sit for at least an hour in the oven with the light on before stretching the dough.
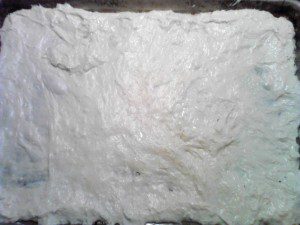
You can vary the amounts of flour, which will give you different textures and degrees of pliability. This recipe is easy to stretch while in the pan, simply plopping the ball of dough in the pan and then pulling it like taffy (for those that remember this) to the edges of the pan. It’s a very good texture for making a thin crust and gooey enough that if you make a tear, you can easily break off a piece from a thicker part and use it as a patch. It will heal itself quickly if placed across the tear.

Can you put pizza dough in the oven without a tray? Certainly not with this dough, which is very wet. Even with a Neapolitan dough tough this is still not advisable. I’m going to consider for the purpose of this, that pizza stones or a pizza steels are essentially trays.
Increasing flour in this recipe to 3 cups will give you a dough that could work if you want to try your hand at stretching it by tossing above your head.
If you have never done this before though, I recommend practicing your flips with a wet towel first to get the technique, and then making extra dough in case something goes wrong. A fun trick to master though, and I fondly remember my time as a pizza cook in the West End of Vancouver in my teens.

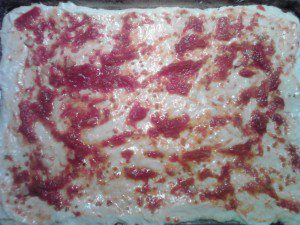
As this dough is tender, it is best to use a thin sauce, rather than a thick one. I tend to thin mine with olive oil.
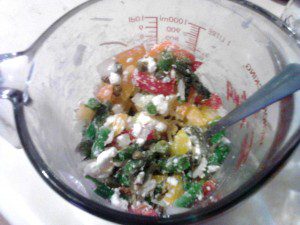
When it comes to topping the pizza, I find that it works best to chop all the ingredient to the sizes that I like best for each and then mix all together in a bowl before topping the pizza.
You get better distribution this way than by individually placing items on the dough. It’s also a faster way of doing it.
My personal favourite toppings are a mix of sweet and hot salami with black olives, sundried tomatos, capers, and onions on pesto, but the possible combinations are endless.

Safety note: Raw flour is dangerous, do not eat it
If anyone is wondering:
- Can you eat raw pizza dough?
- Can you eat raw cookie dough?
- Can you eat raw cake batter?
DON’T! Raw flour is a salmonella risk.
Please read this page from the Canadian Food Inspection Agency

Ingredients
- 2.5 Cups All Purpose Flour to 3 cups
- .5 Tbsp Dry Active Yeast
- 1 Tsp Sea Salt
- 1 Tbsp Olive Oil
- 1.25 Cups Warm water
Instructions
- Mix all dry ingredients together
- Combine oil and water (yes, a crazy idea, I KNOW!)
- Mix the wet ingredients into the dry ingredients. Stir thoroughly to incorporate.
- Let sit for up to 1 hour, or stretch immediately.
- Top as desired and cook at 500ºF til it is browned on the bottom when you lift the crust (with a tool of course!). This will take about 15 – 20 minutes in a properly heated residential stove.
Notes

